
Simple Pillow Cases from Fabric Scraps
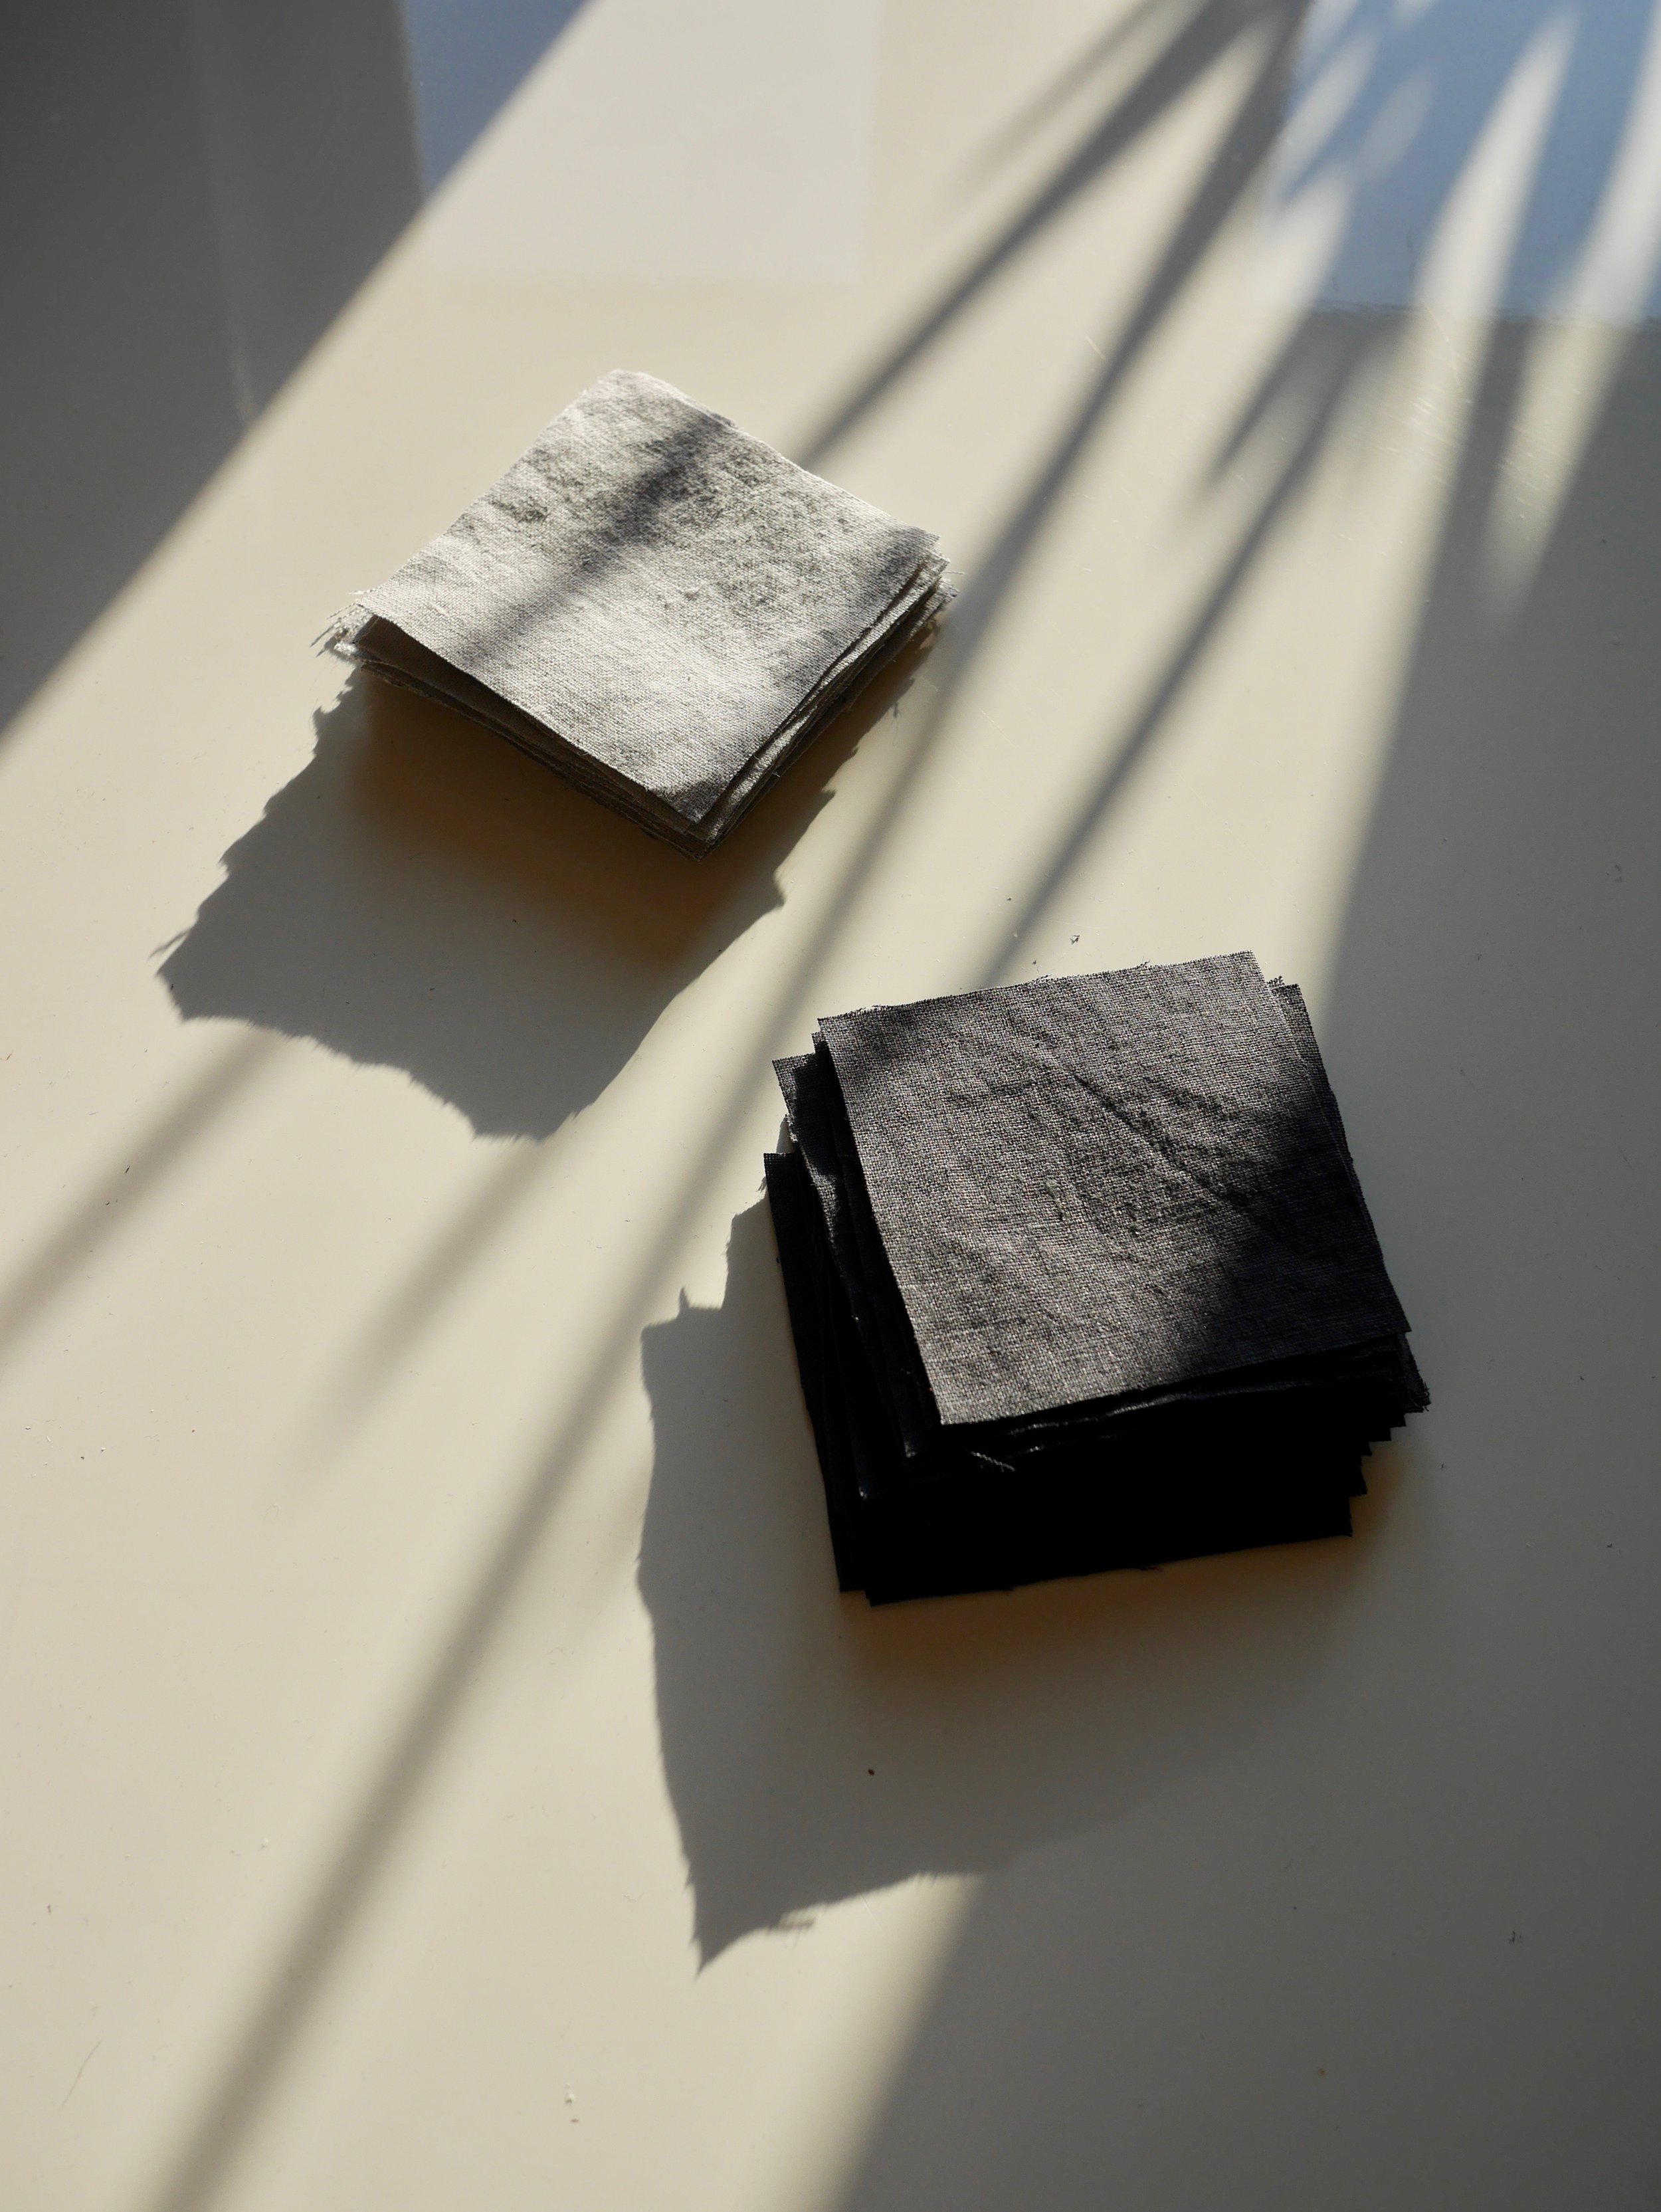
In late spring, I made two dresses (the Duplantier & Smultron), which left me with a decent amount of scrap linen and seersucker fabric, respectively. Since most of my projects are zero waste, sizable scraps are a rare occurrence, but I decided to put them to good use as pillow cases. (Decorative pillows are also a rare occurrence in my apartment—and by rare, I mean non-existent—but I’ve been spending a lot of my free time in bed lately, wanting to be propped up and surrounded by things that make me smile.) Also, I should add, that I fell quite deeply in love with this Cawley Studio pillow.
I ended up making two cases: one simple and the other quilted and I’ll walk you through how I made both. If you’re considering which one to make, I’ll tell you, the simple case is as advertised: simple! I could cut, sew, and test-drive the pillow in a catnap all in under an hour. The quilted case has the same case construction but requires some extra pre-work e.g. measuring, cutting, and sewing the patchwork squares which will tack on an extra couple of hours.


MEASURE & CUT FABRIC
To figure out how much fabric you’ll need, take the pillow you’re planning on covering and measure its length and width from seam to seam, using a soft tape measure. For reference, my pillows are 43cm x 43cm.
For the simple cover:
Cut three fabric pieces as follows.
- Front Piece, (pillow width + 2cm*) by (pillow length + 2cm*)
- Back Pieces (2), (pillow width x 2/3 + 2cm*) by (pillow length + 2cm*)
In my case, I had one 45 cm x 45 cm piece and two, 32cm x 45 cm pieces.
*I am using a seam allowance of 1cm, so I’m essentially just adding that to each side.
For the quilted cover
Decide on the size of your grid and use that to figure out your square pieces’ dimensions. For example, I wanted a 5x5 grid, and 43/5 = 8.6, so my squares would be 10.6cm x 10.6 cm (8.6 + 1cm seam allowances on all sides).
As for quantity, with a 5x5 grid, my Front Piece is made of 25 squares and my two Back Pieces are 15 each, for a total of 55 squares—27 in color A and 28 in color B, see diagram for the checkerboard pattern.

QUILT (skip ahead if making the simple cover)
When you have all your squares cut out, organize them into rows and then start sewing, wrong sides together. Triple check your seam allowance is exactly 1cm, since being off even a little bit will add up!
After sewing into rows (for reference, I had 11), press all seams open with seam allowances to opposite sides. Then, one by one, pin row to adjacent row, wrong sides together. Take your time aligning seams to ensure that crisp four-cornered seam on the front. Sew together and repeat until rows form Front Piece & two Back Pieces, then press open.


HEM OPENING
Press and fold one edge of the Back Piece to the wrong side by the seam allowance twice. Pin in place and then edgestitch. Repeat for the other Back Piece.
SEW TOGETHER
Place Front and Back Pieces, all three right sides together, with outside edges aligned and hemmed edges of the Back Pieces towards the middle. There should be a healthy amount of overlap between the two Back Pieces. For the simple case, the overlap is about 1/3 the full width of the pillow. For my quilted version of the case, it’s exactly one row. Pin together, again doing diligence to align all seams, this time between front and back. Sew one continuous line of stitching 1cm from the outer edge, turning 90 degrees at each corner, to form pillow case!
Trim fabric so that the seam allowance tapers down to about 0.25 cm at each corner. Turn inside out and then carefully insert your pillow into the case! Nap time!

P.S. in the image below, I’ve pried the overlaps open, which is how you get the pillow insert in and out! These pillows hold their shape nicely but I imagine if you have an extra fluffy pillow that’s bulging out here, it could help to add a button & button hole at the center back to keep this overlap closed. I might try this out next time too!
